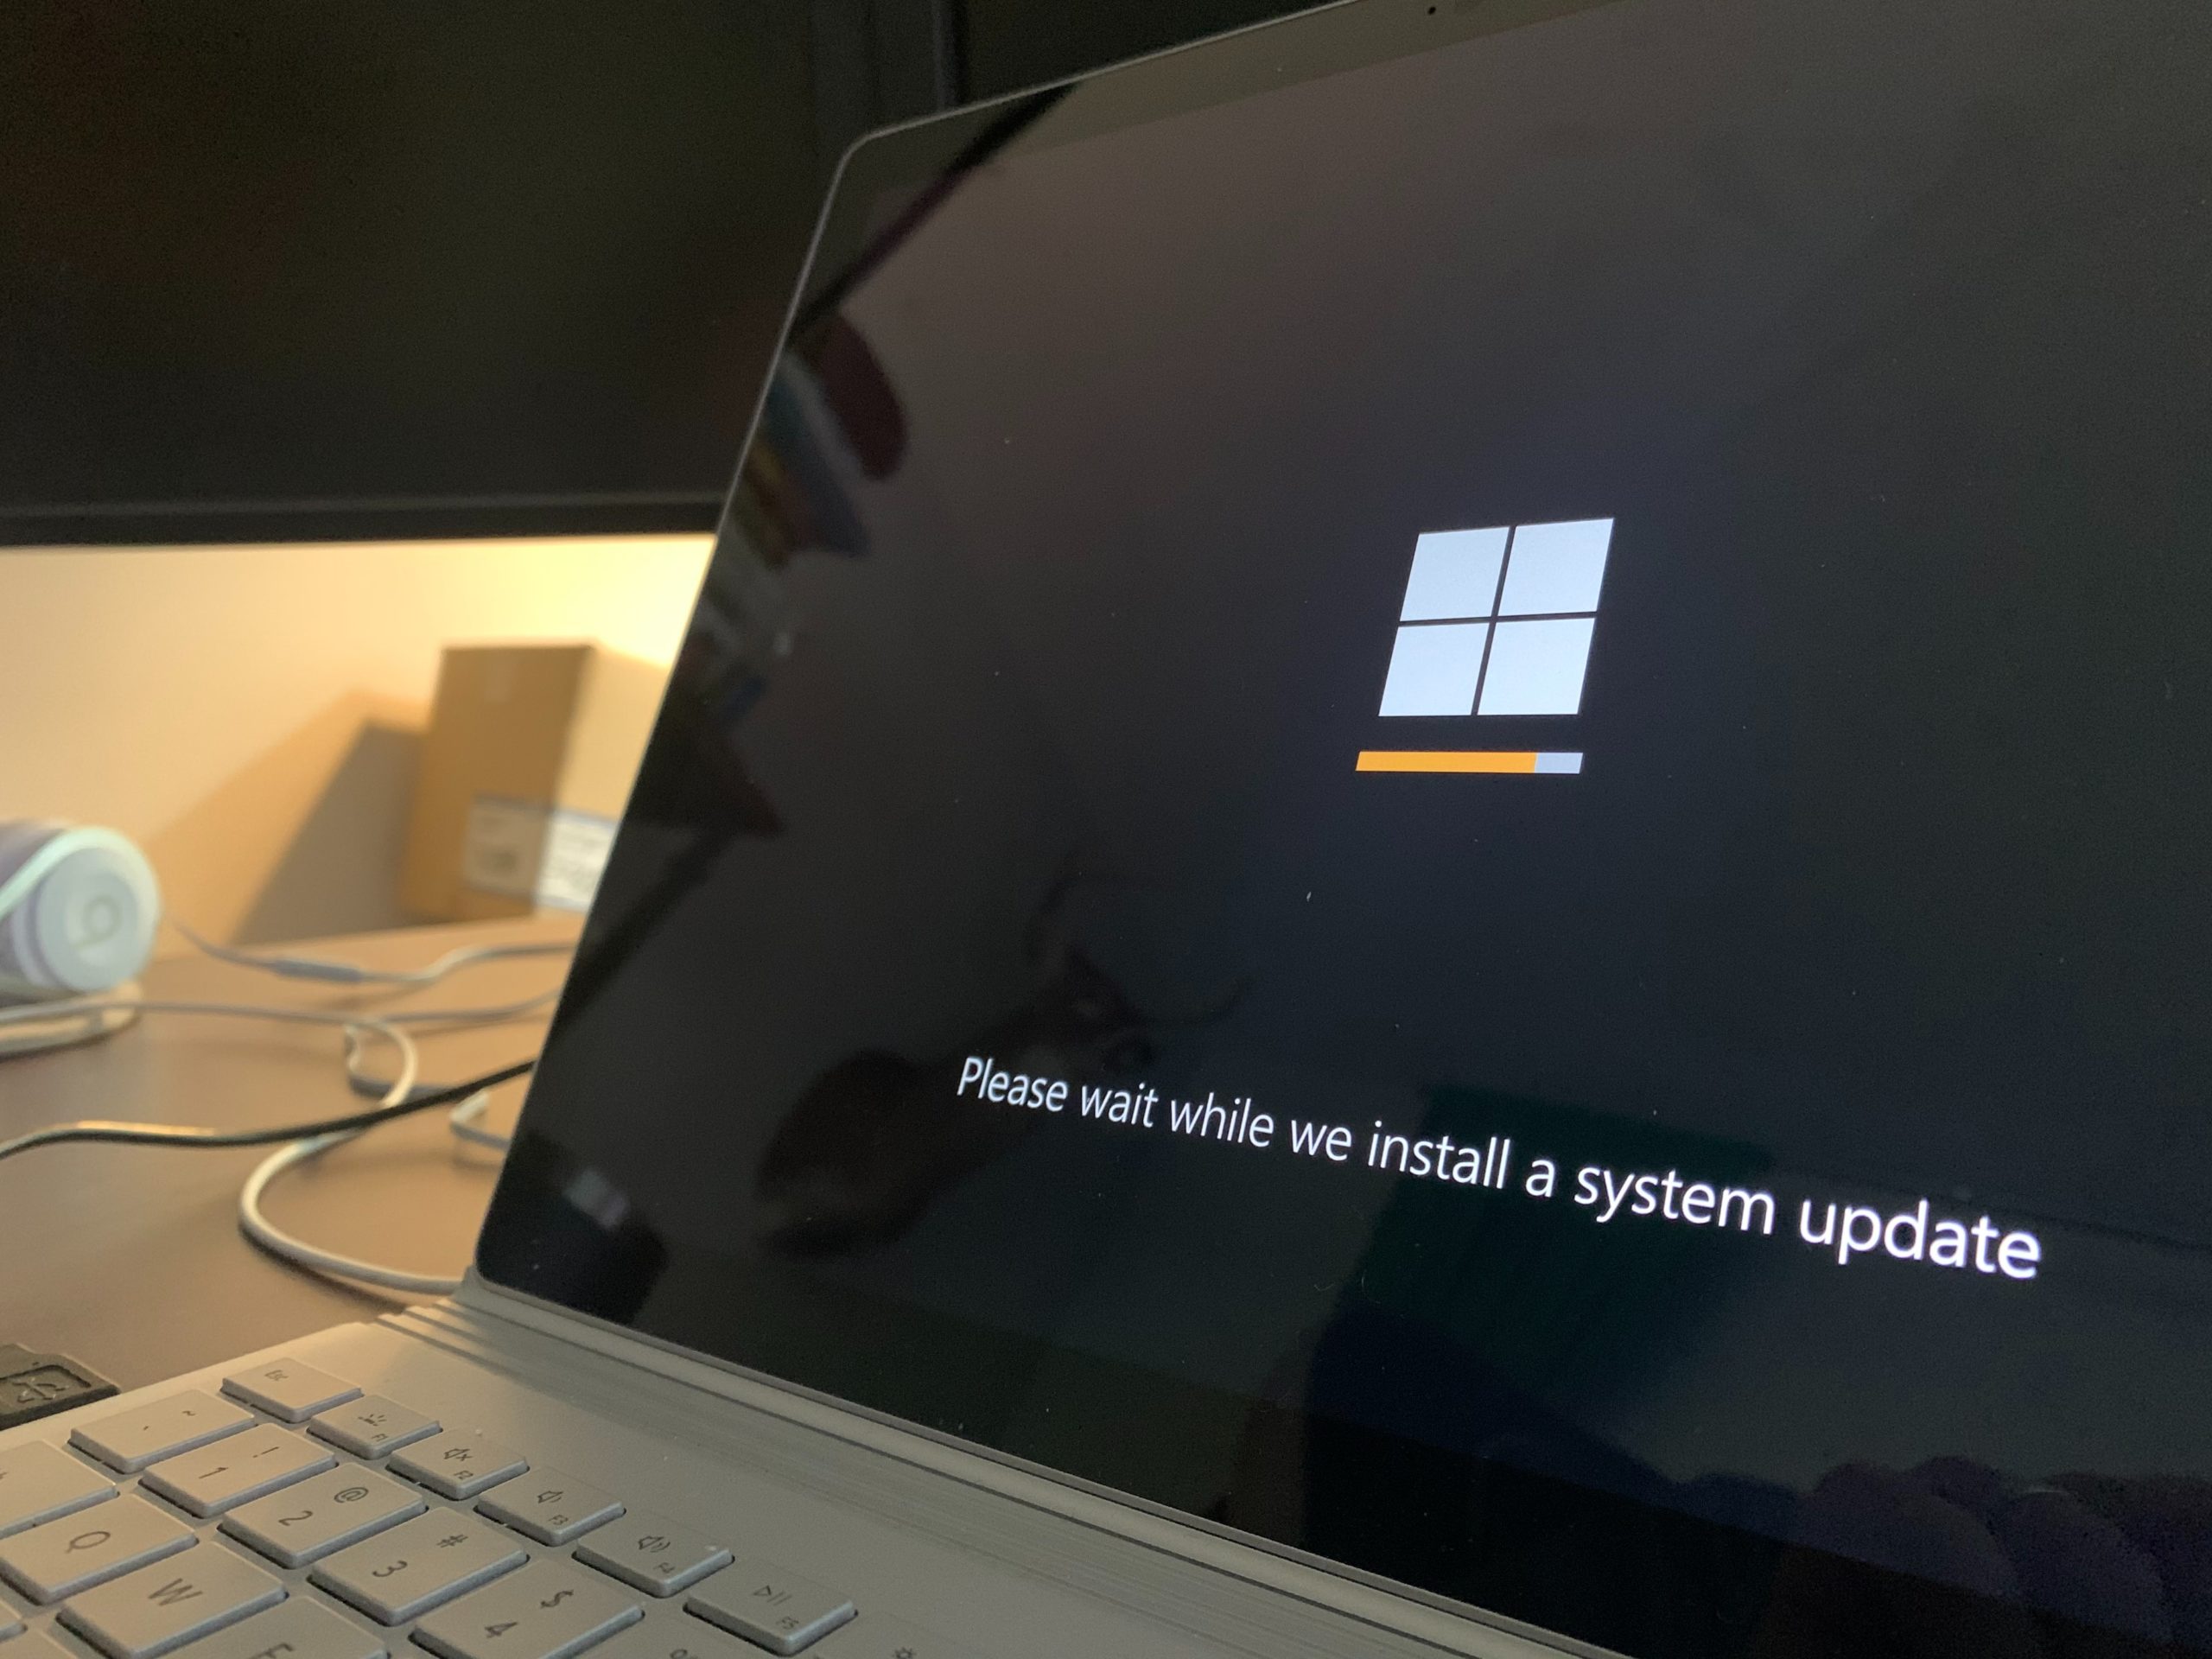
With the advent of the Windows 10 Software as a Service (Saas) model it has become necessary to manage deployment of feature updates almost annually. Many federal and corporate organizations use the “semi-annual” servicing channel for Windows 10 which gets updates in March and September. It is the responsibility of the desktop engineering team to keep management informed and stay well ahead of End of Service (EOS) dates.
I will outline 3 methods for performing Windows 10 feature updates using MECM (SCCM). Thorough testing is required for each method on test devices to confirm that everything works, and user data is retained as expected.
Method 1: Software Update
This method is the easiest to deploy and monitor but will require additional steps to remediate any failed or stuck updates.
- Ensure “upgrades” classifications is selected under Software Updates properties.
- Synchronize Software Updates catalog.
- Right click and download the desired feature update.
- Deploy feature update to device collections.
If your organization is working mostly remote it is best practice to deploy to smaller collections over a longer period so as not to cause VPN over utilization issues.
- Monitor deployment and remediate errors (more details below).
Method 2: Upgrade Task Sequence
If you require additional steps such as upgrading drivers, removing incompatible applications, or suspending BitLocker, using an upgrade Task Sequence provides much more control. This method is more flexible and error remediation steps can be performed before upgrades occur.
- Download the full ISO file from the Microsoft MSDN site for the Windows 10 version you wish to upgrade to.
- Mount the ISO or extract the files with a tool such as 7-Zip.
- Copy the files from the ISO to a MECM network share location.
- In MECM browse to Software Library\Operating Systems\Task Sequences. Right click and choose “Create Task Sequence.” Select “Upgrade an operating system from and upgrade package”. On the select an operating system upgrade package page of the wizard select the network share path that contains the setup.exe file. Set the remaining options that are relevant to your environment and complete the wizard.
- You can deploy the upgrade task sequence as is or edit to customize to your needs.
Method 3: Create an application
A third method is to create an application with the extracted ISO files or the ESD files that are downloaded to C:\Windows\SoftwareDistribution\download during an upgrade. This method works but should only be used if other upgrade methods are failing. One drawback of this method is controlling the reboot after the upgrade but that could be done with the application exit code actions or a task sequence step.
ISO Files:
- Create an application using the extracted ISO files outlines in Method 2 to a MECM network share location
- Use a command line to install the application:
Sample command line (reference link below): setup.exe /Auto Upgrade /Compat IgnoreWarning /NoReboot /Priority Low /ShowOOBE None
- Set the detection method to Registry:
- Key: Software\Microsoft\Windows NT\CurrentVersion
- Value: CurrentBuild
Data Type: String, Operator “Equals”, Value “XXXXX” (eg. 18363 for Windows 10 1909)
ESD Files:
- Upgrade a computer to the desired Windows 10 build using any method (even Windows Update from Microsoft) to the desired build. The upgrade files will be stored in: C:\Windows\SoftwareDistribution\download\XXXXXXXX and can be copied to a MECM network share location. There will be 2 files: updatebox.exe, and the .esd file.
- Create a batch file with the following command lines:
start /w WindowsUpdateBox /Update /PreDownload /quiet /noreboot
start /w WindowsUpdateBox /Update /Install /quiet /noreboot
start /w WindowsUpdateBox /Update /Finalize /quiet /noreboot
- Create an application in MECM and use the created .bat file in the command line.
- Set the detection method to Registry:
- Key: Software\Microsoft\Windows NT\CurrentVersion
- Value: CurrentBuild
Data Type: String, Operator “Equals”, Value “XXXXX” (eg. 18363 for Windows 10 1909)
- Set exit code 0 to cause a system reboot or create a task sequence with the application and add a reboot step.
Upgrade error remediation
Clear the cache
If installation errors occur create a script to delete the upgrade caches C:\$Windows.~BT, C:\Windows\SoftwareDistribution and rename the c:\Windows.old folder to c:\Windows.old_old. Clearing the cache and rebooting resolves most upgrade issues. It is also a good idea to add some windows repair commands to this script such as “sfc /scannow” (restores missing system files) and the Windows Update component repair command DISM.exe /Online /Cleanup-image /Restorehealth
Check the logs
If issues persist check the C:\$Windows.~BT\Sources\panther directory logs. You can also run the PowerShell command Get-WindowsUpdateLog to consolidate the logs into one log.
Reimage the computer
This is a last resort measure and should only be done after all other remediate methods have been exhausted. You can build an in-place upgrade task sequence to refresh Windows with a clean install while retaining user data and settings to make this process easier.
References:
 by
by